Changing your printer’s ink is a simple task that can help you save money and keep your printer running smoothly. Most printers have ink cartridges that can be easily replaced. To do this, open the access door, remove the old cartridge, and insert a new one. This process only takes a few minutes and helps ensure that your prints are of high quality. Replacing printer ink may seem complicated, but most printers are designed to make it fairly straightforward. By following these simple steps and keeping the tips in mind, you can quickly replace your ink cartridges and get back to printing without any hassle.
Just remember to have the right cartridges for your printer model and handle them with care to avoid any messy ink spills. Before changing ink, it’s good to have new cartridges ready. Gently shake the new ink four or five times while still in the package. This mixes the ink inside for better print quality. When you’re ready to swap cartridges, turn on your printer and open the access door. Wait for the print head to stop moving before you touch anything. To remove old cartridges, press the tab and pull them out. Take new cartridges out of their packages and remove any protective tape. Insert them into the correct slots – there’s usually a color guide to help. Close the access door when done. Your printer may then align the cartridges or print a test page.
A Guide to Changing Printer Ink
Running out of printer ink can be a real pain, but replacing those cartridges is usually a quick and easy process. Here’s a general guide to help you get those ink cartridges swapped out and your printer back in action.
Getting Started
Before you begin, make sure you have the correct replacement ink cartridges for your printer model. You can usually find this information in your printer’s manual or on the manufacturer’s website. It’s also a good idea to have some paper towels handy in case of any ink spills.
Steps to Change Ink Cartridges
- Turn on your printer: This will allow the carriage holding the ink cartridges to move into a position where you can access them.
- Open the printer: Locate the access panel or door that allows you to reach the ink cartridges. This is usually on the front or top of the printer.
- Wait for the carriage to move: The carriage holding the ink cartridges will likely move to the center or a replacement position. If it doesn’t, there may be a button or option on your printer’s control panel to initiate this.
- Remove the old cartridge: Press down on the empty ink cartridge to release it. It might have a latch or lever you need to press. Gently pull the cartridge out of the carriage.
- Install the new cartridge: Remove the new ink cartridge from its packaging. Line it up with the empty slot in the carriage and gently push it in until it clicks into place.
- Close the printer: Close the access panel or door securely.
- Run a test print: Your printer might automatically start a cleaning cycle or alignment process. If not, you can usually find this option in your printer’s settings or control panel. Print a test page to make sure the new cartridges are working correctly.
Tips and Troubleshooting
- Handle cartridges carefully: Avoid touching the ink nozzles or copper contacts on the cartridge.
- If you get ink on your skin: Wash it off with soap and water as soon as possible.
- If your printer doesn’t recognize the new cartridge: Make sure it’s properly installed and that the protective tape has been removed.
- If you’re still having problems: Consult your printer’s manual or the manufacturer’s website for troubleshooting tips.
Common Printer Problems
| Problem | Possible Solution |
|---|---|
| Print quality is poor | Run a print head cleaning cycle. Check for clogged nozzles. |
| Printer won’t print | Make sure the printer is turned on and connected to your computer. Check ink levels. |
| Paper jam | Carefully remove the jammed paper. Make sure the paper tray is properly loaded. |
Key Takeaways
- Open printer, remove old cartridges, insert new ones
- Shake new cartridges gently before installing
- Let printer align cartridges after replacement
Preparing for Ink Cartridge Replacement
Getting ready to change printer ink takes a few steps. It’s vital to know which cartridges need replacing and to buy the right ones. Safety also matters when handling ink.
Identifying Low or Expended Cartridges
Printers often show warnings when ink is low. These may appear on the printer screen or on your computer. Some printers have lights that blink or change color.
Check print quality too. Faded or streaky prints can mean it’s time for new ink.
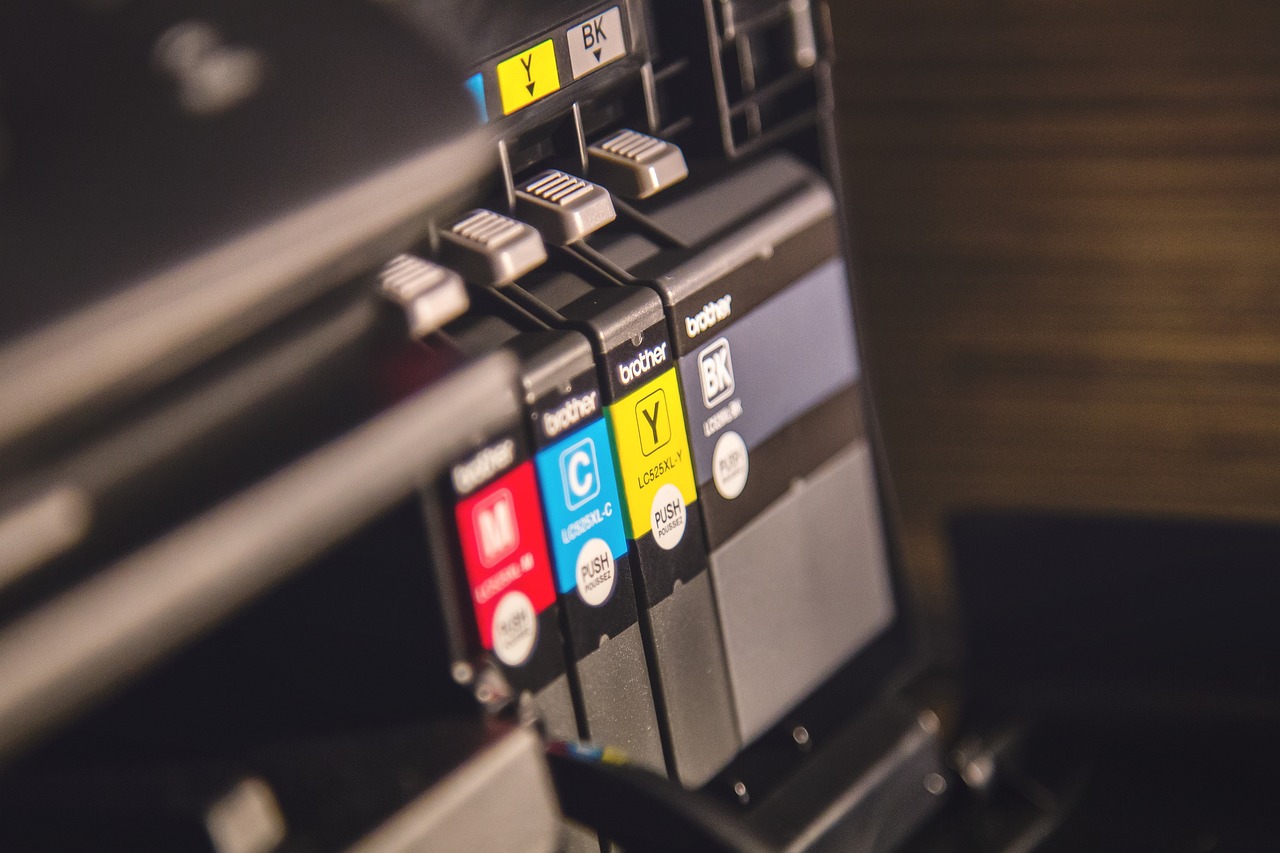
If one color looks off, that cartridge might need replacing. For example, yellow text may look green if the yellow ink is low.
Purchasing the Correct Ink Cartridges
Look at your printer’s manual to find the right cartridge numbers. You can also check the old cartridges for this info.
Write down these numbers before you shop. This helps avoid buying the wrong ink.
Many stores let you look up your printer model to find the right ink. Online shops often have tools to match printers with ink.
Some printers use special high-yield cartridges. These cost more but last longer.
Safety and Handling Precautions
Ink can stain, so be careful when handling cartridges. Wear old clothes or an apron.
Keep ink away from kids and pets. Store new cartridges in a cool, dry place.
Don’t shake ink cartridges hard. Gentle shaking is okay before use.
Avoid touching the metal parts on cartridges. This can cause printing problems.
Wash your hands after changing ink. If ink gets on your skin, use soap and cold water to clean it off.
Replacing the Cartridges
Changing printer ink involves a few key steps. These include opening the printer, taking out old cartridges, and putting in new ones.
Accessing the Cartridge Carriage
First, turn on the printer. Open the top cover or front panel to find the cartridges. Wait for the carriage to move to the center. This makes it easier to reach the cartridges.
For some printers, you may need to press a button to move the carriage. Check your printer manual if you’re not sure.
Removing Old Cartridges
Look for the cartridges in the carriage. Each color has its own slot. Gently press down on the cartridge to release it. Then pull it out of the slot.
Some printers have tabs on the cartridges. Push these tabs to unlock them. Be careful not to touch the metal contacts or ink nozzles.
Put the old cartridges aside. You can recycle them later at many office supply stores.
Installing New Cartridges
Take the new cartridges out of their packaging. Remove any protective tape or caps. Shake each cartridge a few times to mix the ink.
Line up the new cartridge with its slot. The arrow on the cartridge should point toward the printer. Push it in until it clicks into place.
Repeat this for all the cartridges you’re replacing. Make sure each one is secure in its slot.
Ensuring Print Head Nozzles Are Clean
Clean print heads help your printer work well. Most printers have a cleaning cycle you can run. Look for this option in your printer’s menu or software.
If prints look faded or have lines, run a cleaning cycle. This pushes ink through the nozzles to clear clogs.
For stubborn clogs, you might need to clean the print heads by hand. Use a lint-free cloth damp with distilled water. Gently wipe the nozzles.
After cleaning, print a test page to check the quality. If it looks good, you’re all set!
Frequently Asked Questions
Changing printer ink can vary slightly between different brands and models. Here are some specific guides for common printer types.
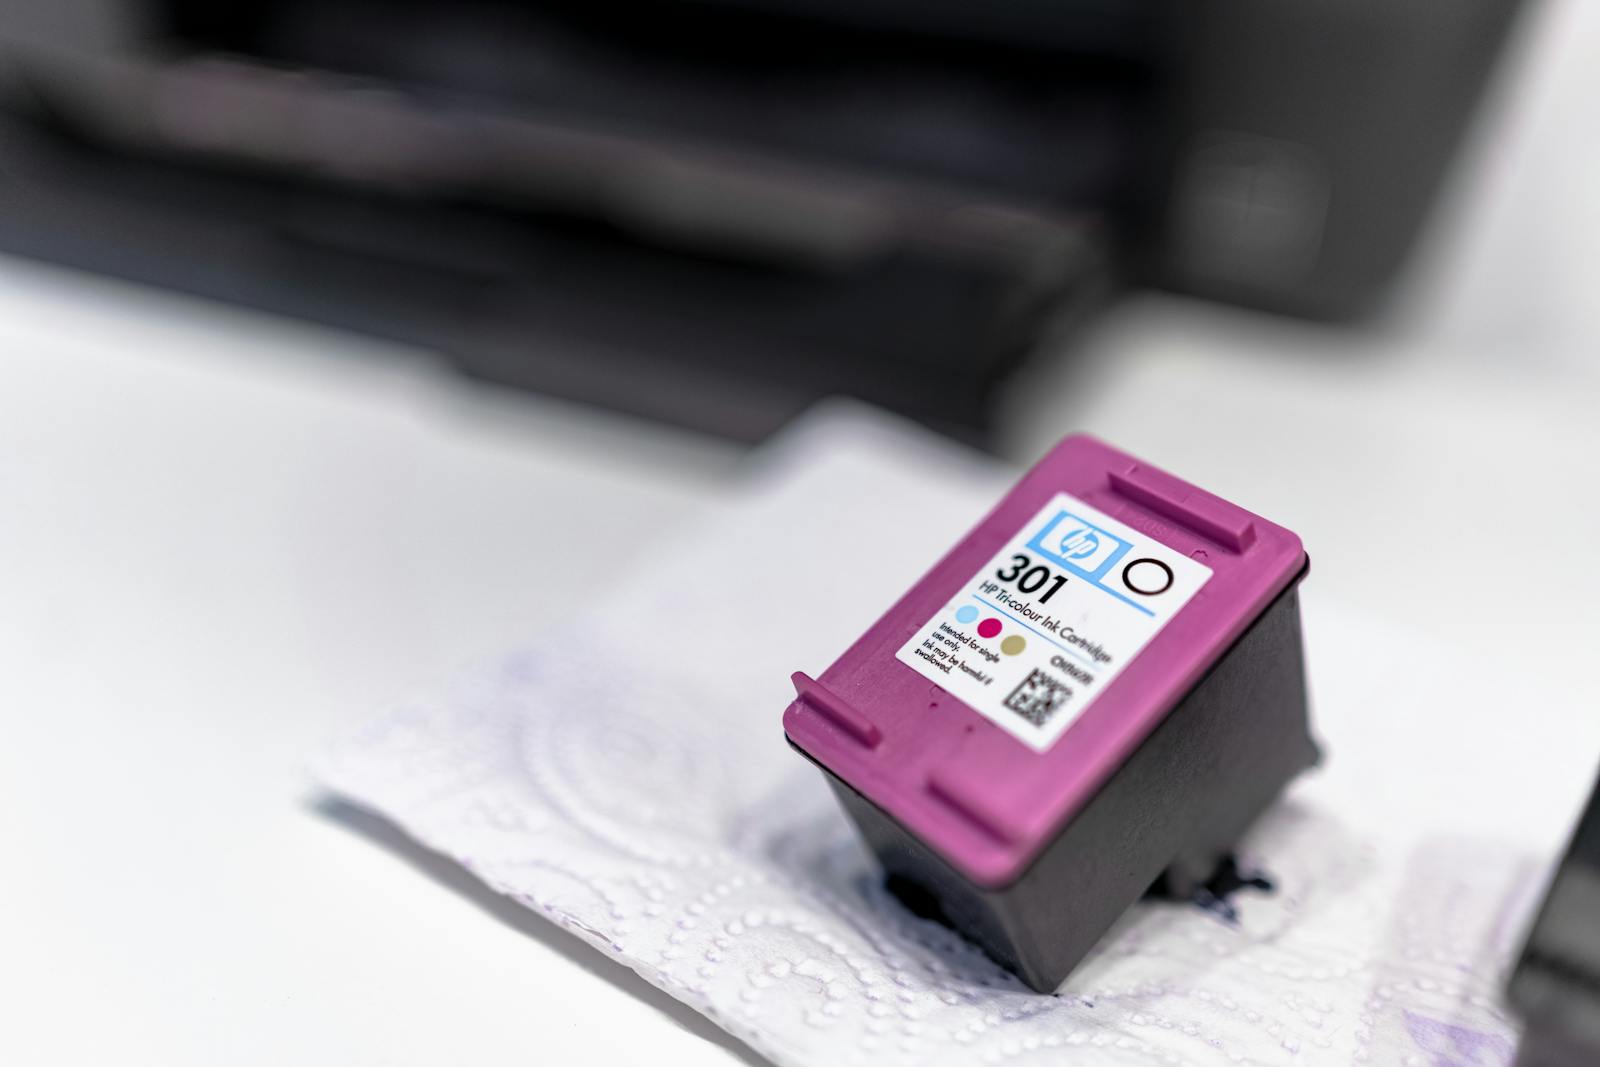
What steps are involved in replacing the ink cartridge on an HP DeskJet 2700?
- Load plain paper into the input tray.
- Open the ink cartridge access door.
- Wait for the carriage to move to the center.
- Remove the old cartridge by pressing down gently and pulling it out.
- Insert the new cartridge until it clicks into place.
- Close the access door.
- Let the printer align the cartridges automatically.
Can you guide me through the process of changing ink in a Canon Pixma printer?
- Turn on the printer and open the top cover.
- Wait for the cartridge holder to move to the center.
- Push down on the empty cartridge to release it.
- Remove the new cartridge from its packaging.
- Take off the protective tape.
- Insert the new cartridge at a slight upward angle.
- Push it down until it clicks.
- Close the cover and let the printer initialize.
What is the procedure to change ink cartridges in an Epson printer?
- Make sure the printer is on but not printing.
- Open the printer cover.
- Press the “Ink” button to move the cartridge holder.
- Squeeze the tab on the empty cartridge and lift it out.
- Shake the new cartridge gently.
- Remove the yellow tape.
- Insert the new cartridge and press until it clicks.
- Close the cover and let the printer charge the ink.
How can I replace the ink cartridge in a Brother printer?
- Turn on the printer and open the top cover.
- Wait for the print head to move to the change position.
- Press down on the empty cartridge to unlock it.
- Pull the cartridge out of the printer.
- Unpack the new cartridge and remove the protective cap.
- Insert the new cartridge firmly until it clicks.
- Close the cover and let the printer prepare the ink system.
What are the instructions for changing a printer cartridge in an HP LaserJet?
- Open the front cover of the printer.
- Pull out the old toner cartridge using its handle.
- Remove the new cartridge from its bag.
- Rock the cartridge back and forth to spread the toner.
- Remove the orange protective cover.
- Line up the cartridge with the tracks inside the printer.
- Insert the cartridge until it clicks into place.
- Close the front cover.
Is there a specific method to put new ink in a Canon printer?
- Power on the printer and open the cover.
- Wait for the cartridge holder to center itself.
- Lift the cartridge lock lever.
- Remove the empty cartridge.
- Take the new cartridge out of its package.
- Remove the protective tape.
- Insert the new cartridge with the label facing up.
- Push it in until it stops, then lower the lock lever.
- Close the cover and let the printer recognize the new cartridge.


