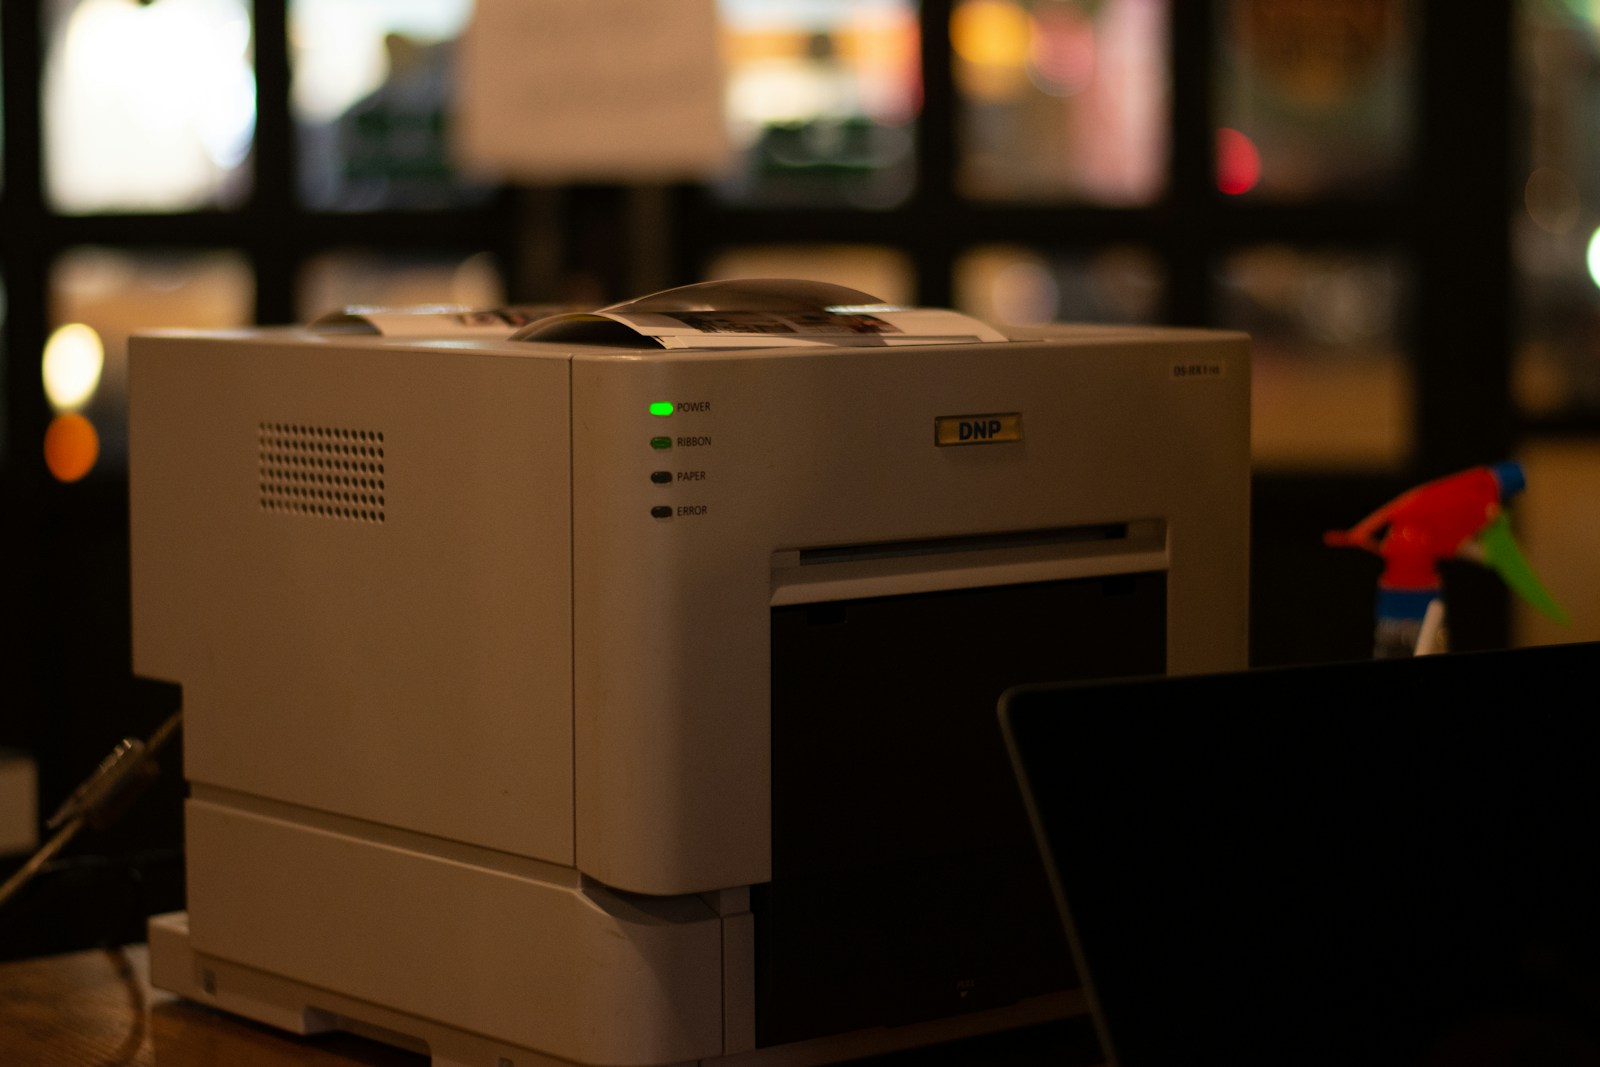
Setting up a wireless printer can seem complicated, but it’s a simple task that allows you to print from any device in your home. Most modern printers come with Wi-Fi built-in and can connect directly to your home network. This makes printing easy from computers, phones, and tablets. Connecting your printer to Wi-Fi allows for convenient wireless printing from various devices. While the exact steps may vary depending on your printer model, this guide provides a general overview of the process.
By following these instructions and troubleshooting tips, you can easily set up your wireless printer and enjoy the benefits of seamless printing from anywhere in your home or office. There are a few ways to set up a wireless printer. Some printers use a Wi-Fi Protected Setup (WPS) button. Others require you to enter network information on the printer screen. The steps may vary based on your printer model, but the basic process is often the same. Once connected, you can print from anywhere in your home without dealing with messy cords or being tied to one spot. Wi-Fi printing provides freedom and ease and is a great way to make your home office or workspace more flexible.
Setting Up Your Wireless Printer: A Simple Guide
Connecting your printer to WiFi unlocks a world of convenience, enabling seamless printing from your computers, smartphones, and tablets. Let’s break down the steps involved:
1. Gather Your Information
Before diving in, ensure you have the following information handy:
- Your WiFi network name (SSID)
- Your WiFi network password
- Your printer model
2. Power On and Position Your Printer
- Turn on your printer and place it within range of your WiFi router. A strong signal is crucial for a stable connection.
3. Access the Printer’s Wireless Settings
The method to access wireless settings varies across printer models.
- Touchscreen Printers: Navigate to the “Setup,” “Network,” or “Wireless” menu on the printer’s touchscreen.
- Printers without a Touchscreen: Look for a dedicated WiFi button or combination of buttons (refer to your printer’s manual).
4. Initiate the Connection Process
Once you’ve accessed the wireless settings, look for one of these options:
- Wireless Setup Wizard: This guided setup walks you through the connection process step-by-step.
- WiFi Protected Setup (WPS): If your printer and router support WPS, you can simply press the WPS button on both devices to establish a connection.
5. Select Your Network and Enter Password
- Choose your WiFi network name (SSID) from the list of available networks on your printer’s display.
- Enter your WiFi password when prompted.
6. Confirm the Connection
- Once the connection is established, your printer should display a confirmation message or indicate a successful connection through a status light.
- Some printers might require you to print a test page to verify the connection.
Troubleshooting Tips
If you encounter difficulties connecting your printer to WiFi, consider these tips:
- Restart your printer and router: A simple restart can often resolve connectivity issues.
- Check for firmware updates: Ensure your printer’s firmware is up-to-date.
- Consult your printer’s manual: Refer to the manual for specific instructions related to your printer model.
- Contact the manufacturer’s support: If all else fails, reach out to the manufacturer’s customer support for assistance.
Additional Methods (if applicable)
Some printers offer alternative connection methods:
- USB Connection: If your printer supports it, you can initially connect it to your computer via USB and use the printer’s software to set up the WiFi connection.
- Mobile App: Many printer manufacturers offer mobile apps that facilitate the setup process.
Key Points to Remember
| Action | Notes |
|---|---|
| Gather Information | Have your WiFi network name, password, and printer model ready. |
| Position Printer | Place your printer within range of your WiFi router for a strong signal. |
| Access Wireless Settings | Use the touchscreen or button combinations to navigate to wireless settings. |
| Initiate Connection | Utilize the Wireless Setup Wizard or WPS, if available. |
| Select Network and Enter Password | Choose your WiFi network and enter the correct password. |
| Confirm Connection | Look for a confirmation message or status light indicating a successful connection. |
Key Takeaways
- Wi-Fi printing allows wireless printing from multiple devices
- Most modern printers have built-in Wi-Fi connection options
- Setup methods vary but often involve pressing buttons or entering network info
Preparing for Wi-Fi Connection
Setting up a wireless printer takes a few steps. You’ll need to check if your printer works with Wi-Fi, find your network details, and get the right software.
Checking Printer Compatibility
Look at your printer’s manual or box to see if it can connect to Wi-Fi. Most new printers have this feature. If you’re not sure, search online for your printer model plus “wireless setup”.
Older printers might need a USB cable to set up Wi-Fi. Some may not work with Wi-Fi at all.
Check what type of Wi-Fi your printer uses. It may use 2.4 GHz or 5 GHz bands. Make sure your router matches this.
Gathering Network Information
Find your Wi-Fi network name (SSID) and password. You’ll need these to connect your printer.
The SSID is often on a sticker on your router. If not, check your router settings.
Write down your network password. This is also called a security key.
If you can’t find this info, ask someone who set up your Wi-Fi or call your internet company.
Installing Printer Software
Go to the printer maker’s website. Look for a “Support” or “Downloads” section.
Enter your printer model. Download the latest software for your computer type (Windows or Mac).
Run the install file. Follow the steps to set up your printer.
The software will guide you through connecting to Wi-Fi. It may ask for your network name and password.
Some printers have apps for phones. These can help with setup too.
Make sure your computer is on the same Wi-Fi network you want to use for the printer.
Connecting Printer to Wi-Fi
Connecting a printer to Wi-Fi lets you print from anywhere in your home. There are a few ways to set up the connection.
Using WPS for Connection
WPS (Wi-Fi Protected Setup) is the easiest way to connect a printer to Wi-Fi. Look for a WPS button on your router and printer. Press the WPS button on the router. Then press the WPS button on the printer within 2 minutes. The printer should connect to the network automatically.
Not all printers have a WPS button. Check your printer manual to see if it supports WPS. If it does, the WPS button may be labeled with the WPS logo or letters.
Some printers need you to start WPS mode from the control panel. Go to the Wi-Fi or network settings and choose the WPS option.
Setting Up Connection Manually
To set up manually, you’ll need your network name (SSID) and password. On the printer control panel, go to Wi-Fi or network settings. Select your network name from the list. Enter the Wi-Fi password when prompted.
Make sure you enter the password correctly. It’s case-sensitive. After entering the password, the printer should connect to your Wi-Fi network.
If you can’t find your network, try moving the printer closer to the router. Walls and other objects can block the Wi-Fi signal.
Connecting via Mobile Devices
Many printers can connect to Wi-Fi using a smartphone or tablet. Download the printer app from the app store. Popular apps include HP Smart and Canon PRINT.
Open the app and follow the setup steps. The app will guide you through connecting the printer to Wi-Fi. You may need to enter your network name and password in the app.
Some printers use Wi-Fi Direct. This creates a direct connection between your mobile device and the printer without using your home network.
Frequently Asked Questions
Setting up printers with Wi-Fi can be tricky. Here are some common questions and solutions for different printer brands and issues.
How do I connect my Canon printer to a new Wi-Fi network?
Turn on your Canon printer. Press the Wi-Fi button until the lamp flashes. Press the WPS button on your router within 2 minutes. Wait for the Wi-Fi lamp to stop flashing and stay lit. Your printer is now linked to the new network.
What are the steps to link my HP printer with Wi-Fi using a smartphone?
Download the HP Smart app on your phone. Open the app and tap “Add printer.” Choose “Set up a new printer.” Follow the on-screen steps to connect your HP printer to Wi-Fi. The app will guide you through each part of the setup.
What should I do to establish a Wi-Fi connection for my Epson printer?
Press the Home button on your Epson printer. Select “Wi-Fi Setup.” Choose “Wi-Fi Setup Wizard.” Pick your network name from the list. Enter your Wi-Fi password using the printer’s keypad. Press “OK” to finish the setup.
How can I reconnect my HP Deskjet printer to my Wi-Fi network?
On your HP Deskjet, press the Wireless button. Go to your printer’s control panel. Select “Network setup” or “Wireless settings.” Choose your Wi-Fi network name. Type in your Wi-Fi password. Press “OK” to connect.
Why won’t my wireless printer connect to Wi-Fi, and how can I troubleshoot it?
Check if your printer is turned on and in range of the Wi-Fi signal. Make sure you’re using the right Wi-Fi password. Restart your printer and router. Update your printer’s firmware. If issues persist, reset your printer’s network settings and try setup again.
Can you list the methods available for wirelessly connecting to a printer?
Wi-Fi Direct lets you print without a router. Bluetooth works for short-range printing. Cloud printing services like Google Cloud Print allow remote printing. Apple AirPrint works for Apple devices. NFC enables quick connections by tapping compatible devices.


