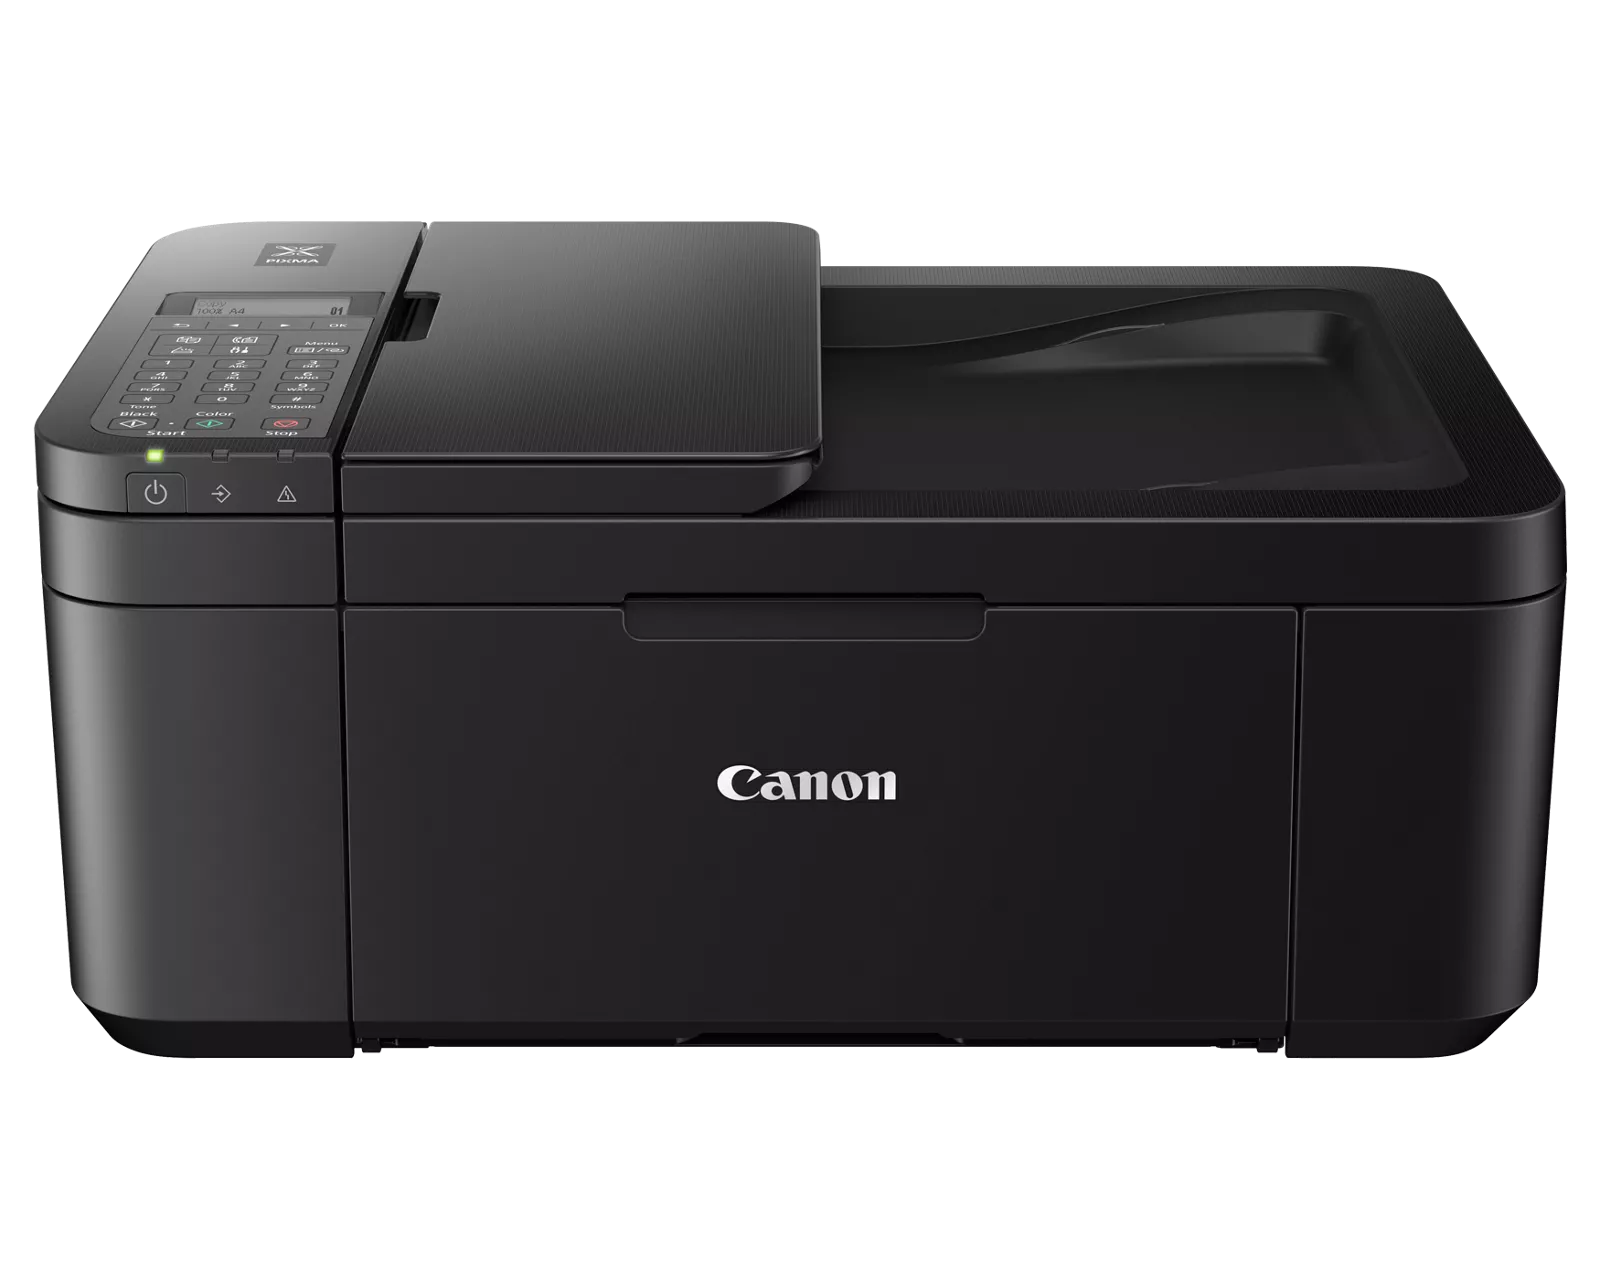
Printing shouldn’t be a hassle. If you’ve got a Canon PIXMA TR4720, you’re probably looking for a quick and easy way to load paper and get to printing. We’ll walk you through the steps to load paper into your Canon PIXMA TR4720 printer, troubleshoot any paper jams, and understand what types of paper your printer can handle.
Loading Paper in Your Canon PIXMA TR4720
The Canon PIXMA TR4720 is a versatile printer for home offices. It can print, scan, copy, and fax. To get the most out of your printer, you need to know how to load paper correctly. Here’s a simple guide to help you.
Loading Plain Paper in the Front Tray
The front tray is the main paper source for your printer. It can hold up to 100 sheets of plain paper.
- Make sure the printer is turned on.
- Gently open the front cover (A).
- Slide the right paper guide (B) to open both paper guides.
- Load the paper stack in portrait orientation (short side up) with the print side facing down. Place the paper in the center of the front tray.
- Insert the leading edge of the paper stack until you hear a sound.
- Slide the right paper guide to align the paper guides with both sides of the paper stack. Don’t push the guides too tightly against the paper.
- Open the paper output tray (F).
- Pull the paper output support (G) and open the output tray extension (H).
- Press the OK button.
Tips for Loading Paper
- Align the edges of the paper neatly before loading. Loading paper without aligning the edges may cause paper jams.
- If the paper is curled, flatten it before loading.
- Do not overload the tray. The maximum capacity is 100 sheets of plain paper.
- Use the correct paper size and type for your printing needs. The printer supports various paper sizes, including letter, legal, and A4.
Troubleshooting Paper Jams
If you experience a paper jam, follow these steps:
- Turn off the printer and unplug it from the power outlet.
- Open the front cover and carefully remove any jammed paper.
- Close the front cover and plug the printer back in.
- Turn on the printer and try printing again.
Paper Types and Sizes Supported by the Canon PIXMA TR4720
The Canon PIXMA TR4720 supports a variety of paper types and sizes, including:
| Paper Type | Paper Size |
|---|---|
| Plain Paper | Letter, Legal, A4, A5, B5, 4″ x 6″, 5″ x 7″, 8″ x 10″, Envelopes (DL, COM10) |
| Photo Paper | 4″ x 6″, 5″ x 7″, 8″ x 10″ |
| High-Resolution Paper | Letter, A4 |
For best results, use genuine Canon paper and ink. If you have any questions or problems, refer to the user manual or contact Canon support.
Initializing Canon PIXMA TR4720 for First Use
Setting up your Canon PIXMA TR4720 correctly from the get-go is crucial. A smooth initial setup can ensure optimal printer performance and print quality.
Unboxing and Setup
Upon unboxing your Canon PIXMA TR4720, remove all packaging materials carefully. Find the power cord, connect it to the printer, then to an outlet, and power on your device. It’s best to pick a stable spot near your computer and within reach of a power source.
Installing Ink Cartridges
The Canon PIXMA TR4720 uses Fine Cartridges for printing. To install them, lift the scanner unit and wait for the cartridge holder to move to the replacement position. Remove the cartridges from their packaging, then remove the protective tape and insert the cartridges into the correct slots—color on the left and black on the right. Ensure they click into place.
Loading Paper for the First Time
To load paper, adjust the paper tray guides and choose the correct paper size, like A4 for standard documents. Use plain paper for your initial test prints. Place the paper stack into the paper tray with the print side facing down. It’s important to not exceed the paper limit mark and to keep the edges aligned to avoid paper jams. After closing the tray, your Canon PIXMA TR4720 is ready for printing tasks.
Printer Operation and Media Handling
When loading paper into the Canon PIXMA TR4720, it’s crucial to select the correct paper type and size for your print job and to adjust print settings accordingly for optimal results.
Selecting Paper Type and Size
The Canon PIXMA TR4720 supports various media types including plain paper, photo paper, and envelopes. To ensure high-quality prints, users should select the appropriate paper type. The printer accommodates several paper sizes such as 4″x6″, 5″x7″, Letter, and Legal. Before printing, the user must confirm that the paper loaded matches the paper type and size settings accessible via the printer’s operation panel or LCD.
- Plain Paper: Ideal for standard printing tasks.
- Photo Paper: Use when printing high-quality photographs.
- Envelopes: Suitable for address printing.
It’s important to align the paper with the paper guides on the loading tray, ensuring the paper is not curled or crumpled. This helps prevent paper jams and ensures prints come out looking their best.
Adjusting Print Settings
Once the correct media is loaded, adjusting print settings on the Canon PIXMA TR4720 is straightforward. Through the printer’s menus on the operation panel or the LCD, users can tweak the print quality setting to match the chosen media type. For the best outcome, match these settings to the type of originals being printed.
- Media Type: Choose the correct media type in the print settings.
- Print Quality Setting: Higher quality settings are recommended for photos, while standard settings suffice for text documents.
Adjusting these settings ensures that the printer uses the right amount of ink and moves at a speed that’s suitable for the type of paper or media used. It’s the key to getting clear, crisp prints every time the PIXMA TR4720 powers to action.
Troubleshooting and Maintenance
Maintaining your Canon PIXMA TR4720 involves regularly checking for paper jams and keeping the printer surface clean to ensure high-quality prints. Let’s talk about how to tackle these common issues effectively.
Clearing Paper Jams
When you encounter a jammed paper issue, it’s critical to carefully remove any obstructing sheets to prevent damage to your printer. Follow these steps:
- Switch off the printer and unplug it to ensure safety before opening any covers.
- Gently open the printer cover and check for visible paper jams. If you spot a jam, slowly pull the paper out.
- If the paper tears during removal, make sure to remove all fragments to avoid future jams.
- Once cleared, close the cover, plug in the printer, and power it back on.
Be mindful that anytime you clear a paper jam, a Support Code 1263 may appear if any paper remnants are left inside. Double-check to make sure all pieces of paper are removed.
Printer Surface Care
A clean printer can prevent many issues, including jams and scratches that can affect your prints. To clean your Canon PIXMA TR4720:
- Power off the printer and disconnect from the power source to prevent electric shock.
- Use a soft, dry cloth to wipe away dust and spots from the exterior surfaces.
- For stubborn stains, lightly dampen the cloth with water. Avoid strong cleaning agents, as they can cause scratches or discoloration.
- Clean the paper feed and output trays with care to avoid leaving fibers that could lead to paper jams or error messages during printing.
Remember, regular maintenance keeps your printer running smoothly and your documents looking sharp.
Frequently Asked Questions
This section covers common inquiries about paper loading for the Canon PIXMA TR4720 to help you handle your printer with ease.
How do I correctly set up paper loading on the Canon PIXMA TR4720?
To ensure proper paper loading on the Canon PIXMA TR4720, start by aligning the edges of your plain paper. If you find any curls, flatten them out. After aligning the edges neatly, load the paper into the printer.
What steps are involved in loading 4×6 photo paper into the Canon PIXMA TR4720?
When loading 4×6 photo paper into your Canon PIXMA TR4720, keep the paper stack height below the tabs of the paper guides. Open the paper output tray and follow your printer’s instructions to adjust for the specific size.
Where is the paper tray located on the Canon PIXMA TR4720, and how can I access it?
The paper tray on the Canon PIXMA TR4720 is located at the front of the printer. You can access it by opening the front tray and gently adjusting the paper guides to fit the size of paper you are loading.
Can you provide troubleshooting tips for paper loading issues on the Canon PIXMA TR4720?
For troubleshooting paper load issues on the Canon PIXMA TR4720, check that you’re using the correct paper size and media type settings. Ensure that the paper is not creased, curled or too thick, and that the tray is not overloaded.
What types of paper can be used with the Canon PIXMA TR4720, and are there any specific loading instructions?
The Canon PIXMA TR4720 supports various paper types including plain paper, photo paper, and envelopes. It’s important to adjust the paper settings on your printer to match the media type and to not exceed the load limit for the front tray or output tray.
How can I resolve the error message ‘load paper’ when the tray is already filled on a Canon PIXMA TR4720?
If you receive a ‘load paper’ error message, check that the paper is correctly aligned and resettled in the tray. Confirm the trays are securely closed and the paper settings on the printer correspond to the loaded media.


