Setting up a Dell C1760NW wireless printer is easy. This color printer offers many features for home and office use. The Dell C1760NW can connect to your Wi-Fi network in just a few steps.
To start the wireless setup, you’ll need the printer, your Wi-Fi network name, and password. Make sure the printer is on and near your router. The printer’s control panel helps you connect to your network.
The Dell C1760NW works with most computers and mobile devices once it’s on your network. You can print from anywhere in your home or office with a wireless connection. This makes it a great choice for people who need a flexible printing solution.
Connecting Your Dell C1760nw to the Wireless World
Understanding Your Dell C1760nw
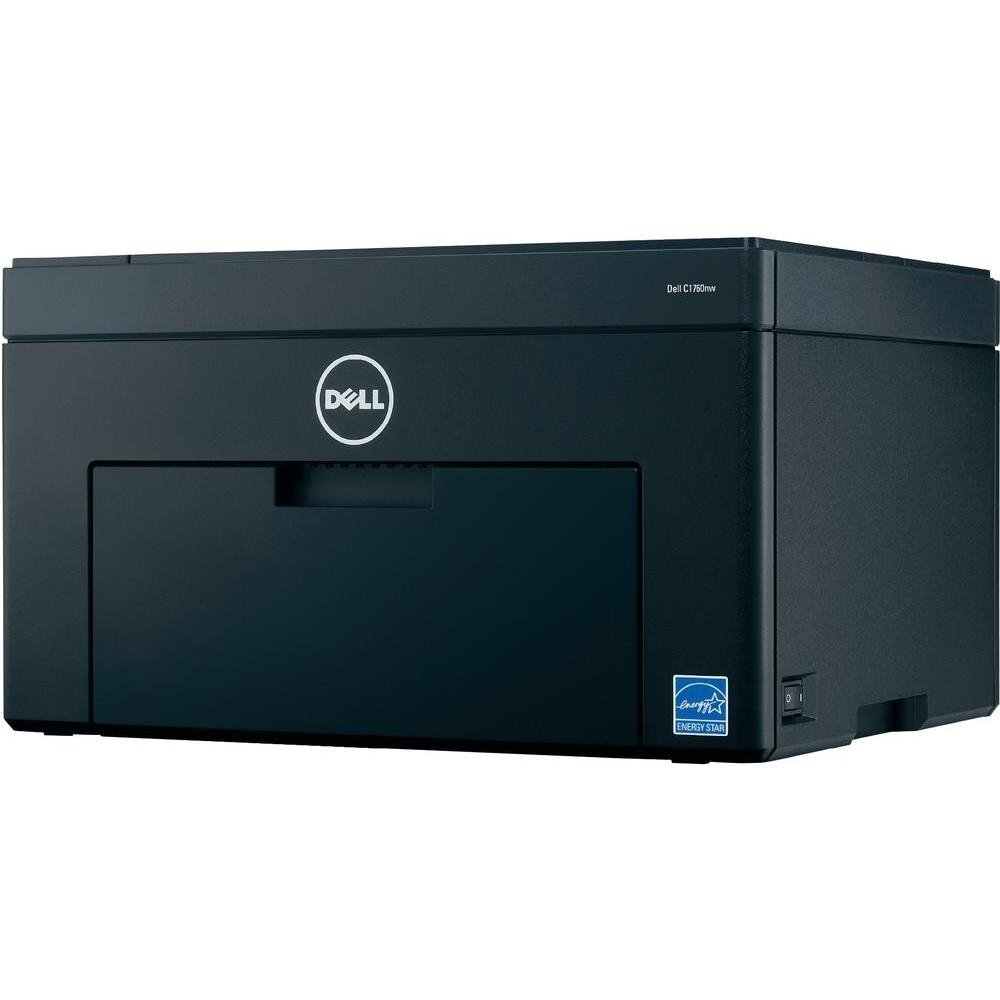
The Dell C1760nw is a compact and reliable color laser printer. It’s perfect for small offices or home use. One of its handy features is built-in Wi-Fi. This means you can print wirelessly from your computer, phone, or tablet without needing to plug in any cables. Let’s get your printer online!
Before You Begin: Gather Your Information
To connect your C1760nw to your Wi-Fi network, you’ll need a few things:
- Your Wi-Fi Network Name (SSID): This is the name of your wireless network.
- Your Wi-Fi Password: This is the password you use to connect to your Wi-Fi.
- Your Printer’s IP Address (Optional): You might need this if you’re connecting your printer manually.
You can usually find your network name and password on your router or in your internet service provider’s documentation.
Easy Setup with WPS (Wi-Fi Protected Setup)
If your router supports WPS, this is the easiest way to connect your printer:
- Press the WPS button on your router. It’s usually on the back or side of the router.
- Within two minutes, press and hold the Wi-Fi button on your printer’s control panel.
- Wait for the printer to connect to your network. The Wi-Fi light on the printer should stop blinking and stay lit when the connection is successful.
Manual Setup Using the Printer’s Control Panel
If your router doesn’t have WPS, you can connect manually:
- Press the Menu button on the printer’s control panel.
- Use the arrow keys to navigate to “Network” and press OK.
- Select “Wireless” and press OK.
- Choose “Setup Wizard” and press OK.
- Select your Wi-Fi network name from the list and press OK.
- Enter your Wi-Fi password using the alphanumeric keypad and press OK.
- Wait for the printer to connect to your network.
Installing Printer Drivers
Once your printer is connected to your Wi-Fi network, you need to install the printer drivers on your computer. This allows your computer to communicate with the printer. You can download the drivers from the Dell support website. Just search for your printer model (C1760nw) and download the drivers for your operating system (Windows or macOS).
Troubleshooting Tips
If you’re having trouble connecting your printer, here are a few things to try:
- Restart your router and printer.
- Make sure your printer is within range of your router.
- Check your Wi-Fi password for typos.
- Temporarily disable your firewall or antivirus software.
- Refer to the Dell C1760nw user manual for more detailed troubleshooting steps.
Quick Guide to Dell C1760nw Wireless Setup:
| Method | Steps |
| WPS | Press WPS button on router, then Wi-Fi button on printer |
| Manual Setup | Use printer’s control panel to navigate to Network > Wireless > Setup Wizard, then enter your network name and password |
Key Takeaways
- The Dell C1760NW connects to Wi-Fi networks quickly
- You need your network name and password for setup
- Wireless printing works with many devices after setup
Preparing for the Wireless Setup
Before setting up your Dell C1760NW printer for wireless use, you need to get ready. This includes knowing what your printer can do, getting key details, and making sure your computer meets the requirements.
Understanding Your Printer’s Capabilities
The Dell C1760NW is a color laser printer that can connect to your wireless network. It works with many types of computers and operating systems. This printer can print from Windows and Mac devices once it’s on your network. It has a control panel on the front for easy use. The C1760NW can print up to 15 pages per minute in black and white and 12 pages per minute in color.
Gathering Necessary Information
To set up your printer, you’ll need some important details:
- Your network name (SSID)
- Network password
- Printer’s IP address (if using manual setup)
- Router’s security type (WEP, WPA, etc.)
Write down this info before you start. You can find most of it in your router settings. If you’re not sure, ask your internet provider or check your router’s manual.
Checking System Requirements
Your computer needs to meet certain standards to work with the C1760NW:
- Windows 7 or newer
- Mac OS X 10.7 or newer
- At least 1 GB of RAM
- 2 GB of free disk space
- An internet connection
Make sure your computer fits these needs. You’ll also need the printer drivers. You can get these from Dell.com or the CD that came with your printer. Check that you have admin rights on your computer to install new software.
Step-by-Step Wireless Connection Guide
Setting up your Dell C1760nw printer wirelessly is quick and easy. You have three main options to get connected: WPS, manual SSID setup, or automatic configuration.
Using the WPS Method
WPS lets you connect your printer with just a button press. To start:
- Turn on your printer
- Press the WPS button on your router
- Within 2 minutes, press the WPS button on the printer
- Wait for the connection light to stop blinking
The printer will now connect to your network. This method works best with newer routers that support WPS. It’s the fastest way to get online.
Manual SSID Setup
For manual setup:
- Print a network report from your printer menu
- Find your network name (SSID) on the report
- Go to printer settings and select “Wireless Setup”
- Choose your network from the list
- Enter your Wi-Fi password when prompted
This takes a bit longer but works with any router. Make sure you know your network password before starting.
Finalizing Your Connection
After connecting:
- Print a new network report
- Check that the IP address is listed
- Try printing a test page
If the test page works, you’re all set! For issues, check that:
- Printer firmware is up to date
- Router firewall isn’t blocking the printer
- Printer is within range of the router
You can always use a USB or Ethernet cable as a backup. These provide a stable connection if wireless gives you trouble.
Frequently Asked Questions
Dell C1760NW printer users often have questions about setup, maintenance, and troubleshooting. Here are answers to some common queries.
How can I set up my Dell C1760NW printer to work on a wireless network?
To set up the Dell C1760NW on a wireless network:
- Turn on the printer and router.
- Press the WPS button on the router.
- Press the WPS button on the printer within 2 minutes.
- Wait for the connection to complete.
- Print a network settings page to confirm.
What are the steps to update the firmware for a Dell C1760NW printer?
To update the Dell C1760NW firmware:
- Go to Dell’s support website.
- Find your printer model.
- Download the latest firmware.
- Connect the printer to your computer with a USB cable.
- Run the firmware update tool.
- Follow the on-screen steps.
How do I replace the drum unit in my Dell C1760NW printer?
- Open the front cover.
- Remove the used drum unit.
- Unpack the new drum unit.
- Insert the new drum unit.
- Close the front cover.
- Reset the drum counter in the printer menu.
What is the procedure for resetting the Dell C1760NW printer?
To reset the Dell C1760NW:
- Turn off the printer.
- Press and hold the Cancel button.
- Turn on the printer while holding the button.
- Keep holding for 10 seconds.
- Release the button when you see lights flash.
- Wait for the printer to restart.
Where can I find the manual for the Dell C1760NW printer?
You can find the Dell C1760NW manual:
- On Dell’s support website.
- By searching for “Dell C1760NW manual” online.
- In the box the printer came in.
- By contacting Dell customer support.
How to install Dell C1760NW printer drivers for Windows 11?
To install Dell C1760NW drivers on Windows 11:
- Go to Dell’s support website.
- Search for C1760NW drivers.
- Download the Windows 11 driver package.
- Run the installer file.
- Follow the setup wizard steps.
- Restart your computer if prompted.