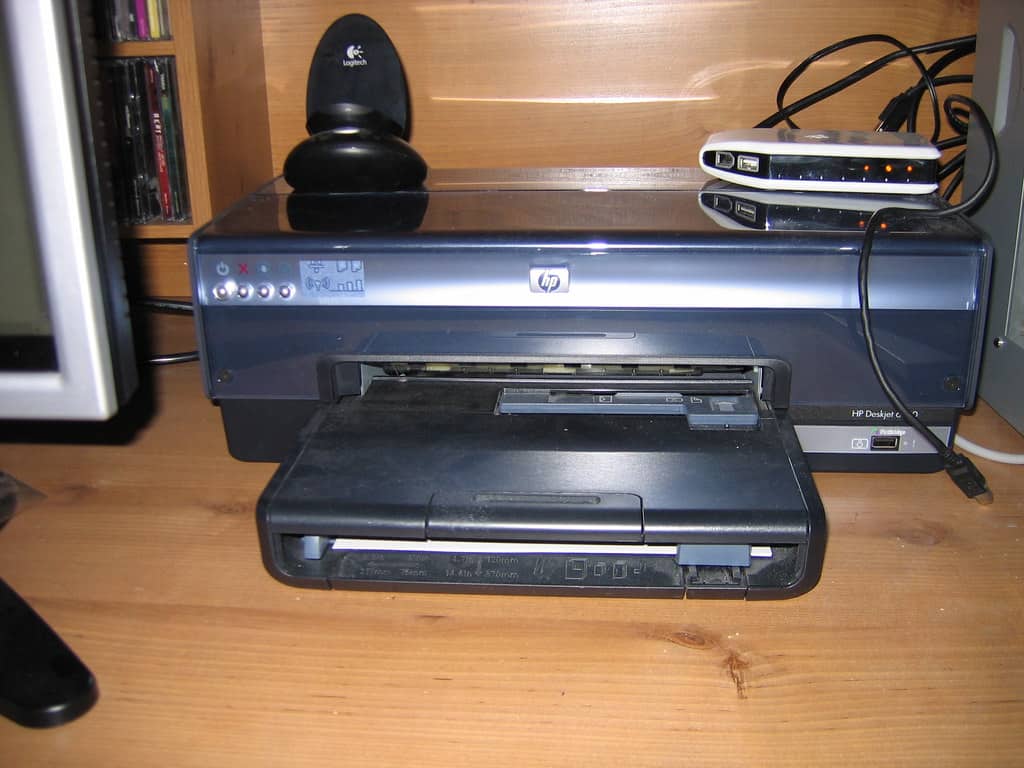
Converting an inkjet printer into a PCB printer is a satisfying DIY project for electronics fans. With the right materials and following the steps outlined, you can repurpose an old printer to create custom circuit boards at home. The process requires some technical skills and careful handling of chemicals, but it’s surprisingly straightforward. Converting an inkjet printer to print PCBs can be a game-changer for DIY electronics projects. By using specialized ink, you can modify your existing inkjet printer to print conductive circuits directly onto copper-clad boards, saving time and money for quicker prototyping. Here are the key steps involved.
First, prepare your printer by replacing its standard ink cartridges with ones filled with conductive ink. Next, ensure your copper-clad boards are correctly positioned, often requiring modifications to the printer’s tray. Finally, using software like Photoshop or similar, you can design and print your circuits with precision. Converting an inkjet printer for PCB printing isn’t overly complex, but it does require attention to detail. With the right tools and by following proper steps, anyone can turn their home printer into a powerful PCB manufacturing tool, ideal for hobbyists and small-scale projects.
Building Your Own PCB Printer: A DIY Guide
Materials Needed
- Inkjet Printer: Choose an older, inexpensive model. Epson printers are often preferred for this conversion.
- Copper-Clad Board: This is the base for your PCBs.
- PCB Design Software: Used to create the circuit layout.
- Resist Ink: This special ink protects copper from etching.
- Etchant Solution: Removes unwanted copper from the board.
- Safety Gear: Gloves, goggles, and mask to protect yourself.
Steps to Convert Your Printer
- Prepare the Printer:
- Disassemble the printer carefully.
- Remove unnecessary components like the paper feed rollers.
- Clean the printhead thoroughly.
- Install Resist Ink:
- Refill or replace the ink cartridges with resist ink.
- Ensure proper ink flow and alignment.
- Modify the Print Bed:
- Create a flat surface for the copper-clad board to rest on.
- Adjust the sensor to detect the board’s thickness.
- Print the PCB Design:
- Use your PCB design software to create a mirrored layout.
- Print the design onto the copper-clad board.
- Etch the Board:
- Immerse the printed board in the etchant solution.
- The etchant will remove the exposed copper, leaving the circuit pattern.
- Clean and Drill:
- Wash off the resist ink and etchant.
- Drill holes for components using a suitable drill bit.
Tips and Tricks
- Start with simple designs to practice.
- Calibrate your printer for optimal printing on copper-clad boards.
- Experiment with different resist inks and etching solutions.
- Consider adding a ventilation system when working with chemicals.
Safety Precautions
- Always wear safety gear when handling chemicals.
- Work in a well-ventilated area.
- Follow the instructions for the etchant solution carefully.
- Dispose of chemicals responsibly.
Disclaimer
This guide is for informational purposes only. Converting a printer to print PCBs involves working with chemicals and modifying electronic equipment. Proceed with caution and seek professional assistance if needed.
Key Takeaways
- Modify an inkjet printer to print PCBs with conductive ink.
- Ensure copper-clad boards are correctly placed in the printer.
- Use design software for precise circuit printing.
Preparing the Inkjet Printer for PCB Printing
Getting your inkjet printer ready for PCB printing involves important steps like modifying the print head, choosing the right substrates, and selecting and curing appropriate inks. Each step is crucial for achieving successful PCB fabrication.
Modification of the Print Head
To convert an inkjet printer for PCB printing, remove the original ink and install special conductive ink. Start by taking out the print head assembly. Be careful during this step so you don’t damage the printer. Use tools like a Dremel for precise cuts.
Next, clean the printer to remove any leftover regular ink. Print several test pages until no color remains. This ensures only the conductive ink will be used in future steps.
Selecting Suitable Substrates
Choose a base material where the circuit will be printed. Typically, copper clad boards are used as they are good conductors. Copper clad boards have a copper layer over them, making them ideal for circuit connections.
Aluminum is another option, but it’s less common. Ensure the substrate is clean and free of grease or dust. This helps the ink adhere properly, resulting in better circuit quality.
Ink Choices and Curing Methods
Use a special ink designed for PCB printing. Common choices include MIS Pro Yellow Ink and other conductive inks. These inks contain metals that form the circuit paths. Standard printer inks won’t work as they don’t conduct electricity.
After printing, cure the ink using heat or UV light. Follow the ink manufacturer’s guidelines for the best results. Proper curing ensures the ink bonds well and functions correctly on the PCB.
By carefully following each of these steps, you can successfully prepare an inkjet printer for PCB printing, allowing you to create DIY printed circuit boards at home.
Frequently Asked Questions
Converting an inkjet printer to print PCBs involves specific steps, appropriate materials, and suitable ink. It compares to other methods like toner transfer and needs particular modifications.
What are the steps to modify an inkjet printer for PCB printing?
- Remove the print head assembly.
- Adjust the printer chassis.
- Place a modified metal print tray.
- Set up the printer for PCB etching.
Which types of ink are suitable for printing PCBs with an inkjet printer?
Use etch-resistant ink. Some people use UV-curable ink. Test different inks to see which works best for your needs.
Can standard inkjet printers be used for etch resist PCB printing?
Yes, with modifications. Standard inkjet printers need adjustments. This ensures they can handle the etch-resistant ink and the specific printing requirements.
What materials are needed to print PCBs at home using an inkjet printer?
- Copper-clad boards.
- Etch-resistant ink.
- Modified metal print tray.
- A Dremel for cutting and adjustments.
How does the toner transfer method compare to inkjet printing for creating PCBs?
Toner transfer uses heat to transfer the design. Inkjet printing is more direct and can offer better precision and speed for some users. Both methods have their pros and cons.
Are there specific modifications necessary for an inkjet printer to handle bulk PCB printing?
Yes, modifications such as adjusting the print tray and setting up continuous ink systems are needed. These changes help the printer manage larger quantities and maintain quality.


