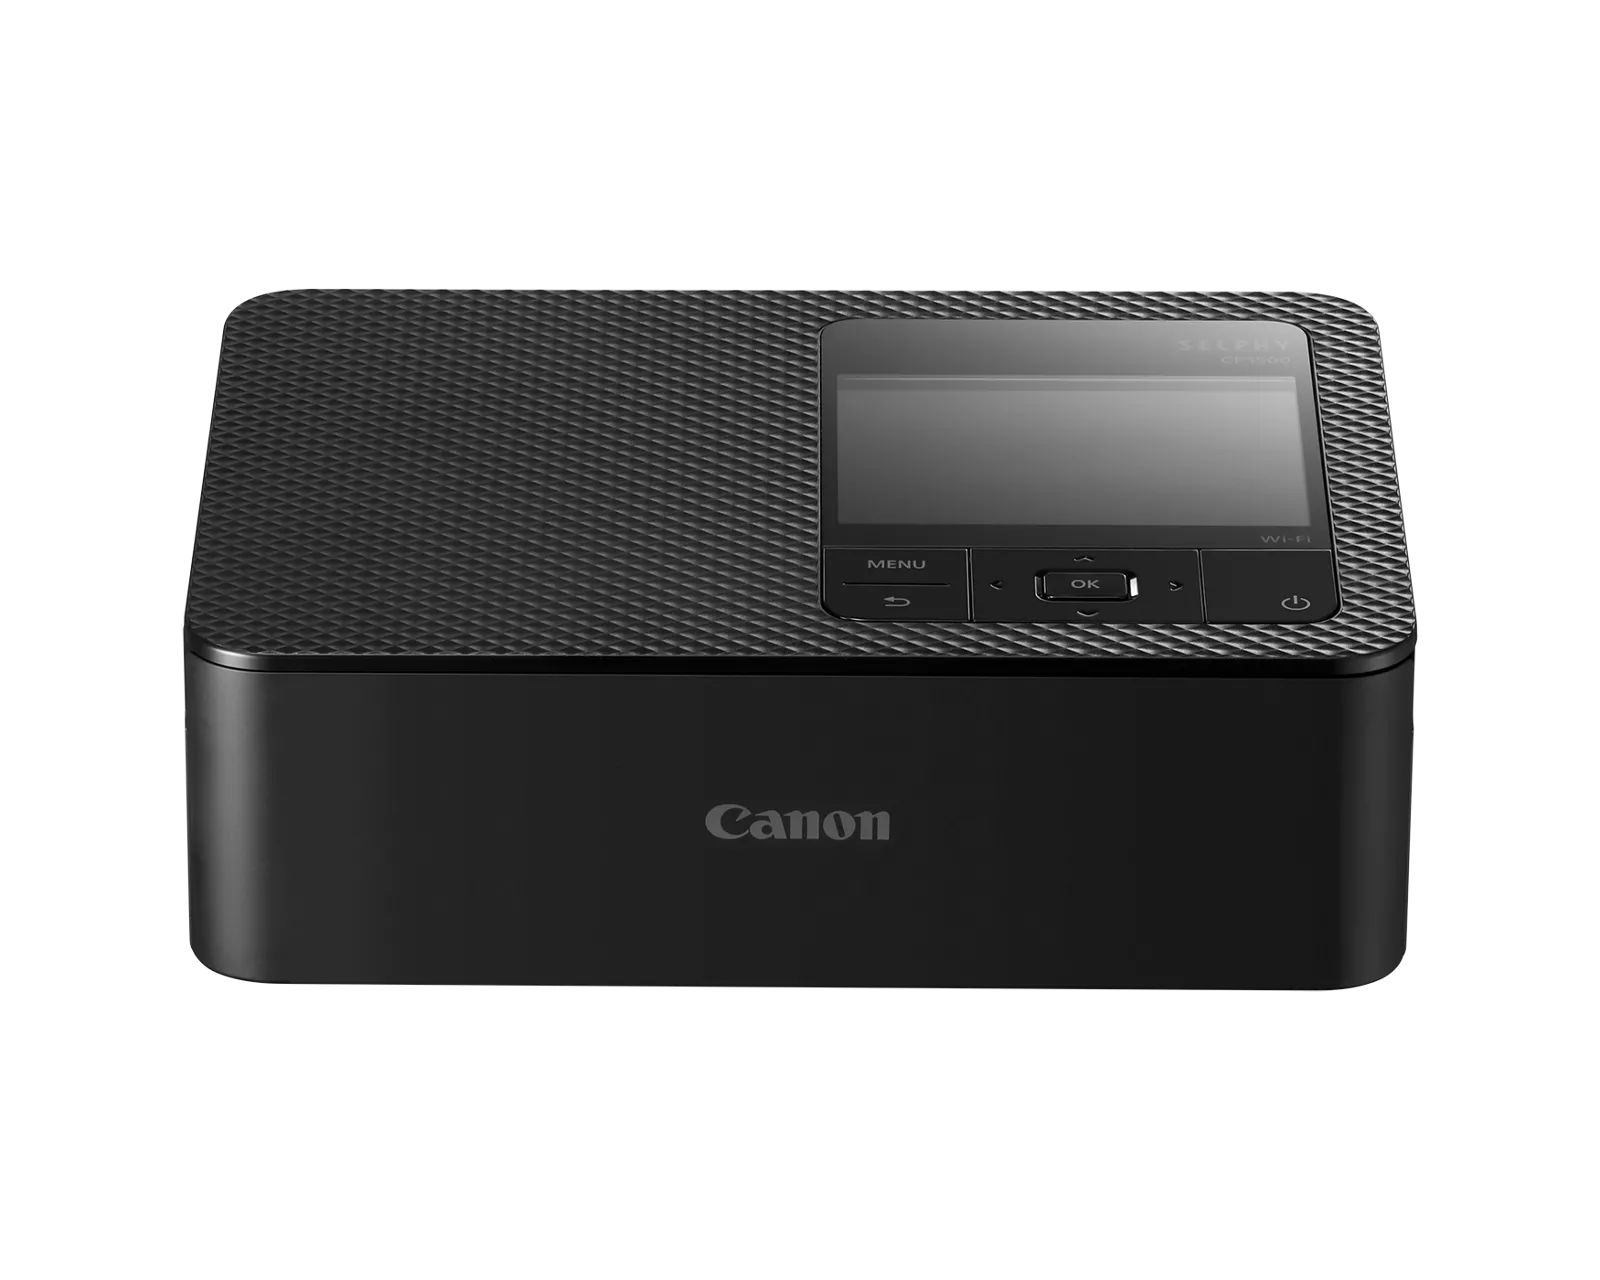
Loading paper into your Canon SELPHY printer is a straightforward process, but crucial to the success of your photo prints. Ensuring the paper is correctly installed is the first step toward achieving high-quality prints from your SELPHY printer. With varying models like the SELPHY CP1200, CP1300, and CP1500, each has a specific method for loading paper, yet they all share similar fundamental steps to secure the paper cassette.
The process begins with opening the printer’s covers to access the paper compartment. You must insert the paper cassette that matches your model’s requirements. When loading the paper into the cassette, it’s important to check that the size indicator on the cassette aligns with the size of the paper you’re using. This detail is often missed but is crucial to avoid paper jams or poor printing quality.
Loading Paper in Your Canon SELPHY Printer: A Step-by-Step Guide
Canon SELPHY printers are super handy for printing high-quality photos on the go. But, before you can print, you’ll need to load paper. Here’s how to do it:
What You’ll Need
- Canon SELPHY Printer
- Compatible Canon Color Ink / Paper Set: Find these sets specific to your SELPHY model to ensure the best print quality.
Instructions
Open the Covers: Your SELPHY printer has two covers.
- Outer Cover: Gently lift this outward.
- Inner Cover: Push to unlatch and open this cover as well.
Load the Paper Cassete:
- Remove Packaging: Take the paper out of its packaging. Avoid touching the glossy side.
- Insert the Paper: Slide the paper into the cassette with the glossy side facing up.
- Don’t Overload: The cassette has a maximum capacity (usually around 18 sheets). More than that could cause jams or malfunctions.
- Close Inner Cover: Push it down until you hear a click, securing it in place.
Open Paper Cassette Compartment: Find this on the front of your printer.
Insert the Cassette:
- Align the Cassette: Match the cassette’s prongs with the slots on your printer.
- Slide and Click: Push the cassette gently into the compartment until you hear a click.
Special Considerations
- Postcard-Size Paper: If you’re printing postcards with a stamp area, load the paper with the stamp area facing down (check the included instructions).
- Paper Types: Only use paper designed specifically for your Canon SELPHY printer.
Troubleshooting Tips
| Problem | Solution |
|---|---|
| Paper jam | Turn off printer, gently remove jammed paper, reload cassette |
| Poor print quality | Ensure you’re using the correct ink and paper set for your printer model |
Now you’re ready to print amazing photos with your Canon SELPHY printer!
Key Takeaways
- Proper paper loading is essential for quality prints.
- Each SELPHY model has a specific paper cassette.
- Correct paper size alignment prevents common print issues.
Canon SELPHY Paper Loading Fundamentals
When loading paper into a Canon SELPHY printer, the quality of prints largely depends on using the correct paper and mounting it properly. This section outlines the basic yet crucial steps to prepare and load paper correctly, ensuring top-quality prints every time.
Understanding Paper and Print Media
The Canon SELPHY series utilizes a specific type of paper cassette tailored for different photo media types, most commonly postcard-size paper with a glossy finish. It is crucial to handle this media with care to avoid fingerprints or moisture. SELPHY papers often come with perforations that allow users to easily separate printed photos from any excess border. For prints resembling traditional postcards, the paper includes a designated area for a stamp, which should face in the right direction when loaded. Some models, also designed for card-size paper, contain springs to support efficient paper feeding from the cassette.
Preparing the Printer for Loading Paper
Before insertion, it is critical to ensure that the printer is free from any debris or moisture that could interfere with paper feeding. Open the printer’s paper cassette, being attentive to any labels indicating the correct orientation for the glossy side of the paper. This side is the printing surface and should be facing up. No more than 18 sheets should be loaded to avoid jamming or damaging the printer. If using label paper, ensure any protective layers are removed before loading. Spectators should note that each model might have slightly different loading procedures, so reviewing the specific manual for their SELPHY is recommended for best results.
Troubleshooting and Maintenance
Ensuring your Canon Selphy printer operates smoothly requires routine checks and knowing how to address common issues. This guide aims to help with paper feeding problems and ink cartridge alignment to maintain optimal print quality.
Paper Feeding Issues and Error Codes
If your printer displays error support code 4104 or support code 1200, it often indicates a paper feeding problem. Check for these issues:
- Ensure the paper cassette is not overloaded; insert no more than 18 sheets.
- Verify the paper matches the size of the paper cassette.
- Open the inner cover to check for dust or debris that can cause jams.
To avoid paper feed issues:
- Load paper with the shiny side facing up.
- Ensure there’s no plastic wrap on the paper.
- For duplex printing, confirm that your printer supports this feature and that it’s activated.
Ink Cartridge and Print Head Alignment
If you encounter error codes like support code 1485, support code 1650, or support code 1401, these often point to issues with the ink cartridge. Here’s what to do:
- Confirm the ink cartridge is the correct type for your Selphy model.
- If you see ink cartridge cannot be recognized or an ink cartridge error occurred, remove the cartridge and reinstall it to ensure it sits properly.
For print quality issues such as banding, aligning the print head may be necessary.
- Perform an automatic print head alignment if your model supports it.
- If the issue continues, check the roll paper tension and adjust it if needed.
Regular maintenance and troubleshooting keep your printer running without hitches and ensures your prints are crisp and clear.
Frequently Asked Questions
This section covers common questions on loading paper in Canon Selphy printers.
How do I properly insert paper into my Canon Selphy CP1300 printer?
First, open the paper cassette’s cover and place the paper with the glossy side up. Make sure to load up to 18 sheets to avoid jams.
What are the steps for loading paper in the Canon Selphy CP1500 model?
Open the covers of the CP1500 paper cassette. Place the paper with the glossy side facing up. Similar to the CP1300, do not exceed 18 sheets.
Why is my Canon Selphy printer experiencing a paper jam and how can I fix it?
Paper jams may occur if more than 18 sheets are loaded or paper is not inserted correctly. Remove excess paper and ensure the glossy side is facing up when reinserting.
Can you guide me through the process of setting up paper loading on a Canon Selphy printer?
Ensure the printer is off. Open the covers and insert the paper cassette after loading it with paper, glossy side up and without touching the surface.
What should I check if my Canon Selphy printer is not printing despite having paper loaded?
Check that the cassette is properly inserted and the paper is loaded as described. Also, ensure that no foreign objects are inside the printer.
Is there a specific type of paper required for the Canon Selphy CP1300, and how do I load it?
Use the specific Canon paper for the CP1300. Load it with the glossy side facing up, making sure not to exceed the 18-sheet limit for optimal performance.


