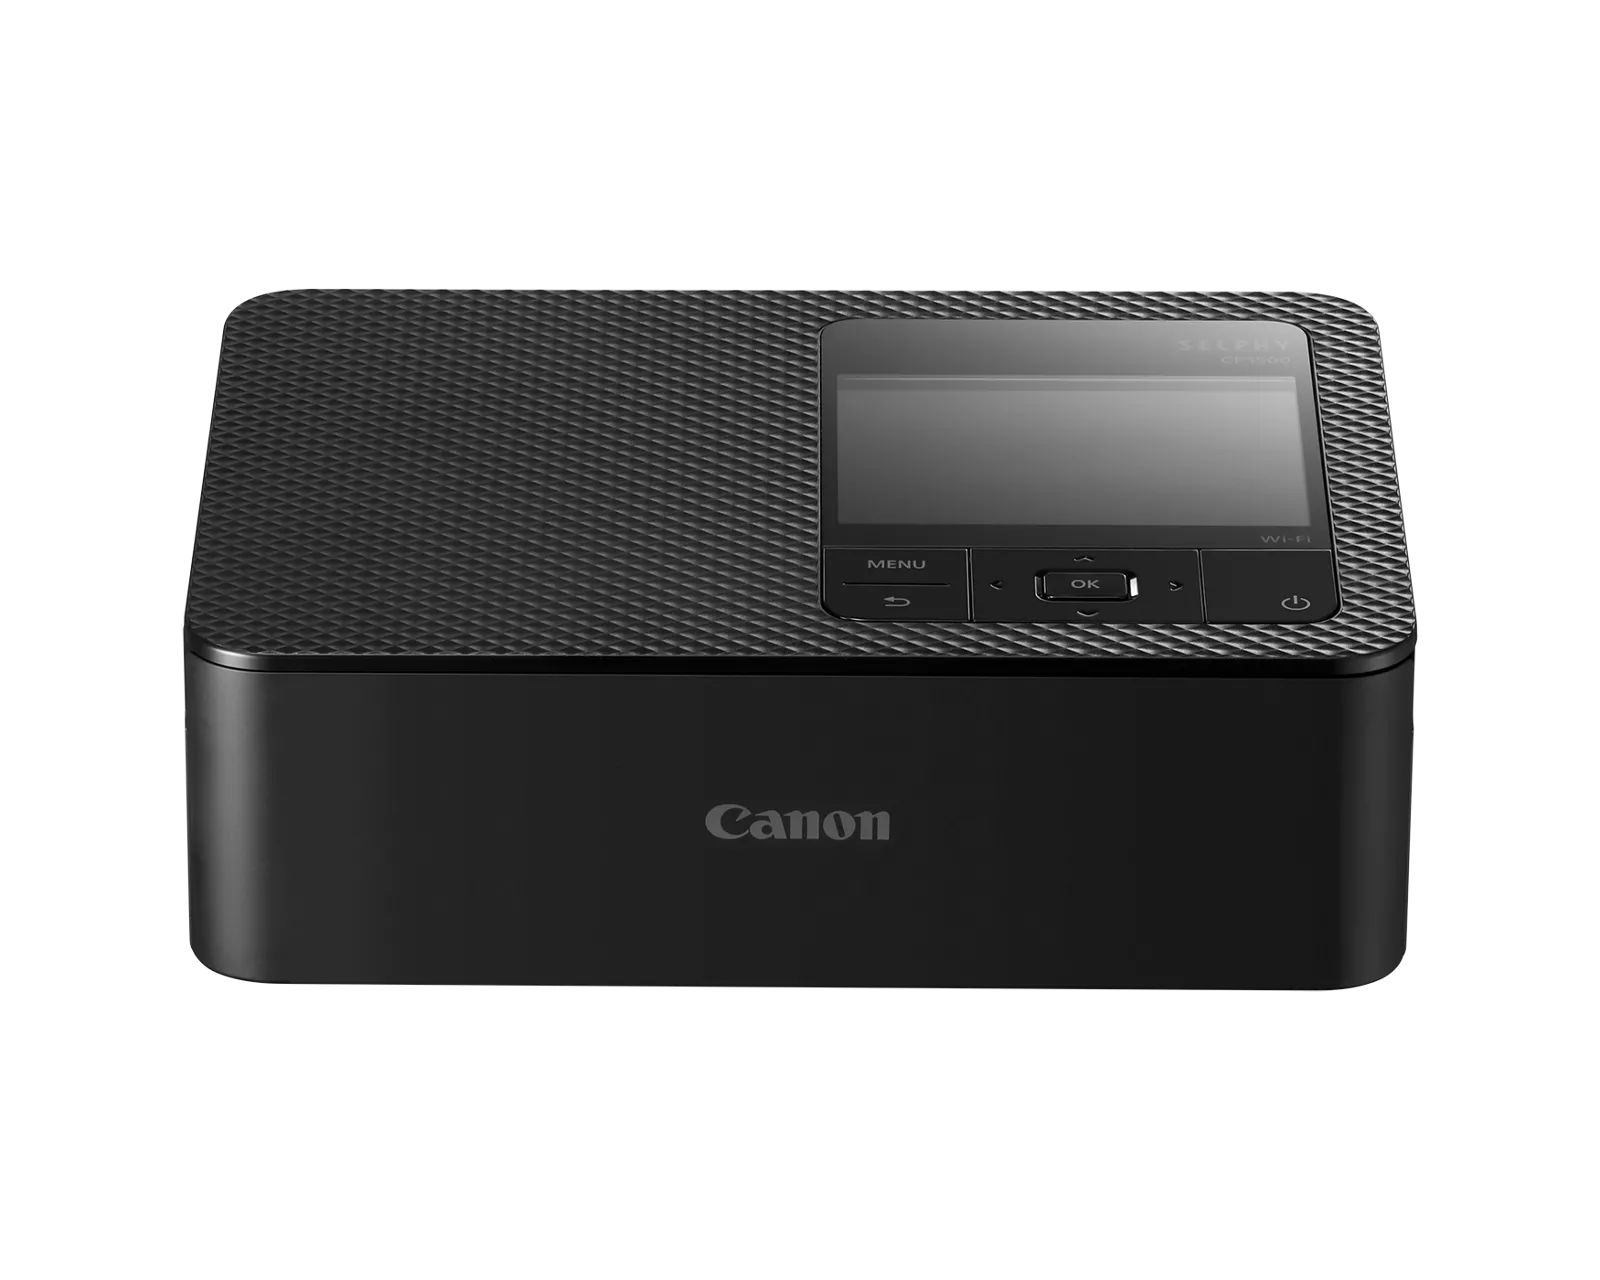
Setting up a Canon Selphy printer with a Chromebook is straightforward, making it a convenient option for users looking to print photos directly from their laptops. The Selphy series is known for its compact design and ease of use, which is further complemented by the simplicity of Chrome OS. Most Canon Selphy printers today support wireless connectivity, which is a key feature that enables them to interface smoothly with Chromebooks.
To begin the setup process, it is critical to ensure that the Chromebook is compatible with wireless printing. Typically, this involves checking the Chromebook settings and verifying that the printer is on and ready to connect. Once compatibility is confirmed, the connection can be established through the Chromebook’s Wi-Fi settings, where the user will select the printer’s network and enter the appropriate information to complete the pairing.
Connecting Your Canon SELPHY to Your Chromebook
Setting up a Canon SELPHY printer with a Chromebook is a quick and easy process. Here’s how to do it:
What You’ll Need:
- Canon SELPHY printer (check model compatibility on the Canon website).
- Chromebook
- Wi-Fi network
Setup Steps
- Turn on Everything: Power up both your Canon SELPHY printer and your Chromebook.
- Connect to Wi-Fi: Make sure both devices are connected to the same Wi-Fi network.
- Chromebook Settings: On your Chromebook:
- Click the time in the bottom-right corner of the screen.
- Select the Settings (gear) icon.
- Navigate to “Advanced” in the settings menu.
- Find and click on the “Printers” section.
- Click on “Add Printer”.
- If your Canon SELPHY is detected automatically, select it and follow the on-screen prompts.
- Manual Printer Addition: If your printer isn’t automatically detected:
- Click “Add Manually”
- Input your printer’s information:
- Name: Give your printer a name.
- Address: Enter your printer’s IP address (found in your printer’s network settings).
- Protocol: Choose “IPP”.
- Queue: Leave as “ipp/print”.
Printing a Test Page
Test It Out
Once your printer is added, try printing a test page to verify everything is working correctly. Select a small image or text document and send it to your Canon SELPHY for printing.
Troubleshooting
| Issue | Solutions |
|---|---|
| Printer not found | Double-check both devices are on the same Wi-Fi. Verify your printer’s IP address is correct. |
| Print quality issues | Ensure the correct paper and ink cartridge types are used for your SELPHY model. |
Now enjoy the convenient photo printing from your Chromebook with your Canon SELPHY!
Key Takeaways
- Canon Selphy printers offer easy wireless setup with compatible Chromebooks.
- Chromebook settings must be verified for wireless printing capability.
- A successful connection relies on access to the printer’s network and proper setup.
Setting Up Your Canon Selphy with a Chromebook
Setting up your Canon Selphy printer with a Chromebook is a simple process that involves initial printer preparation, connecting to Wi-Fi, and configuring your print settings. Here’s how to get started.
Initial Printer Setup
First, make sure your Canon Selphy printer is ready to use. Install any necessary ink cartridges and load the paper into the tray. Turn on your printer and wait for it to initialize. This might include automatic print head alignment. Check for any error codes like 1403 or 1401, which indicate a print head or ink cartridge issue, and address them as described in your printer’s manual.
Connecting to Chromebook
For a successful connection, your Chromebook needs to support wireless printing. Ensure your printer’s Wi-Fi is active and connect your Chromebook to the same network. On your Chromebook, install the Canon Print Service Plugin from the web store. This will allow seamless printing from your device to your Canon Selphy printer.
Printing Preferences and Maintenance
To optimize your printer’s performance, adjust settings like print quality and paper type in your Chromebook’s printing preferences. Regular maintenance steps such as aligning the print head and preventing paper abrasion help keep print quality high. If your printer supports duplex printing, this option can be selected to print on both sides of the paper, saving resources.
Troubleshooting Common Issues
Should you encounter issues like Support Code 4104 or 1650, referencing misaligned paper or improper roll paper tension, consult your manual for troubleshooting tips. Error codes like 1485 or 1430 can indicate problems with the ink cartridge or print head that might require reinstallation or cleaning. Make sure your firmware is up to date to prevent these issues.
Canon Selphy Print Functionality
Canon Selphy printers bring advanced printing capabilities to Chromebook users. They seamlessly integrate with various software and applications, ensuring high-quality prints with efficient ink usage.
Advanced Printing Features
Canon Selphy printers support features like duplex printing, which allows printing on both sides of the paper. This is especially useful for creating professional booklets or reducing paper use. Models like the Pixma TS3520 and IP8720 also include options for aligning the print head, which ensures prints are sharp and clear. Setting the index is another feature, enabling users to organize their documents more efficiently.
Software and Application Integration
Canon Selphy printers work with Chromebooks using applications like the IJ Cloud Printing Center and CaptureOnTouch for Windows. These tools make it possible to print from anywhere, as long as there is internet access. Users can set sender information through the printer software to add a professional touch to their documents. With proper setup, printing can be as easy as selecting a file and clicking the ‘print’ button, even when on the go.
Optimizing Print Quality and Ink Usage
For peak performance, Canon Selphy printers can be fine-tuned to optimize print quality and ink usage. Depending on the model, such as the GX1020 or GX2020, users can adjust settings that influence the ink output, ensuring vibrant prints that don’t waste resources. They should regularly check Canon’s guidelines and adjust their printer settings to match the type of document or image being printed. Ink cartridges can also be swapped out with ease to maintain the quality of prints over time.
Frequently Asked Questions
Setting up a Canon SELPHY printer with a Chromebook is straightforward when following these steps.
How to connect a Canon SELPHY printer to a Chromebook?
To connect a Canon SELPHY printer to a Chromebook, start by ensuring the printer and Chromebook are on the same Wi-Fi network. Add the printer by going to your Chromebook settings, clicking ‘Advanced’, and then selecting ‘Printers’.
What are the steps to set up a Canon printer on a Chromebook using USB?
For USB setup, connect the Canon printer to your Chromebook with a USB cable. A notification will appear asking you to set up the new device. Follow the on-screen instructions to complete the setup.
Where can I find a compatible PPD file for my Canon printer to use with a Chromebook?
You can find the correct PPD file for your Canon printer on the official Canon website or through your printer’s support page. This file is necessary for your Chromebook to recognize the printer.
How do I resolve issues with a Canon SELPHY printer not working with a Chromebook?
Check your printer’s compatibility and ensure your Chromebook is up to date. If issues persist, reset the printer’s network settings and redo the setup process. Contact Canon support for further help.
How to use the Canon printer app to print from a Chromebook?
Download the Canon PRINT Inkjet/SELPHY app from the Google Play Store. Open the app, and it will guide you through connecting to your printer and how to print documents and photos from your Chromebook.
Are recent Canon PIXMA printers compatible with Chromebook models?
Recent Canon PIXMA printers should be compatible with Chromebooks. Look at your printer model’s specifications on the Canon website to ensure compatibility before attempting to set it up with your Chromebook.


